📸 Using the Scanner Feature
After you've chosen your Organization, you will see a list of your current and past events broken up by tabs. Choose the event you'd like to scan tickets / check in guests for by tapping on it:

After selecting the event you're scanning tickets for you'll have the option to Scan / Check-In or utilize our Box Office Feature.

Selecting the Scan / Check-in option will reveal a "Tier Selection" menu, in which you can select which tickets can be scanned by the device you're using. Tapping "Save selection" will save the options you have selected and the device will only be able to scan tickets that have been chosen. This menu will come in handy for any ticket scanners you invite to be able to scan tickets for your events!
If you need to update this menu, simply tap on the "Settings" tab in the bottom right corner of your screen.

Once the you have saved your Tier Selection, the screen will automatically move to the Scan Tickets screen. Note: You may need to set your permissions to allow the app to use your phone's camera in order to use the scanning feature.

From here, you're all set! Just point and shoot your camera at your attendees ticket(s) to have the scanner verify the ticket. Successful scans will display a green banner at the top showing the customer name, ticket category and ticket tier. A successful scan will look like this:

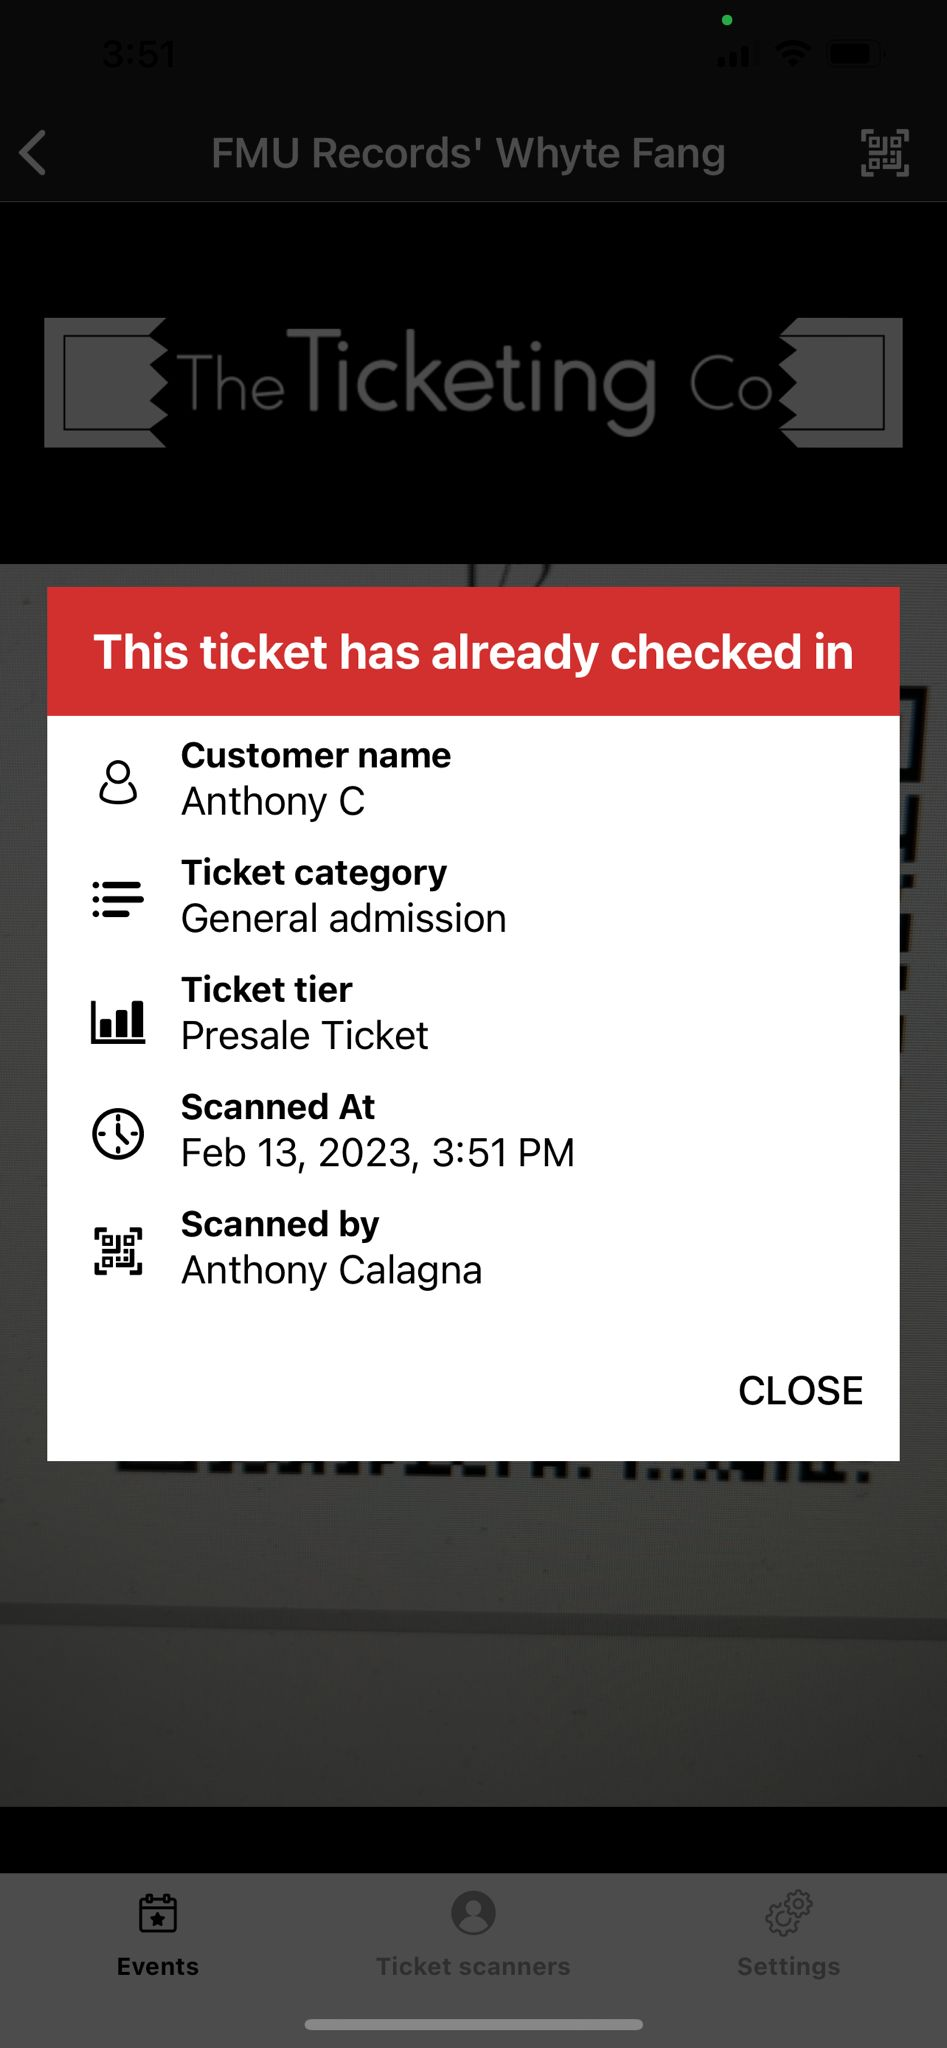
An unsuccessful scan will display a red pop-up screen that will provide the reason that the scan was unsuccesful, and the scan info. An unsuccessful scan will look like this: