✅ Using the Check-in Feature for Attendees and your Guestlist
Sometimes your attendees can't find their ticket(s). They lost it, their dog ate it, they couldn't find it in their inbox or they were too lazy to download the ticket(s) from their orders in their Ticketing Co. account. Whatever the reason is, you have the ability to search for their tickets within the app and check them in manually!
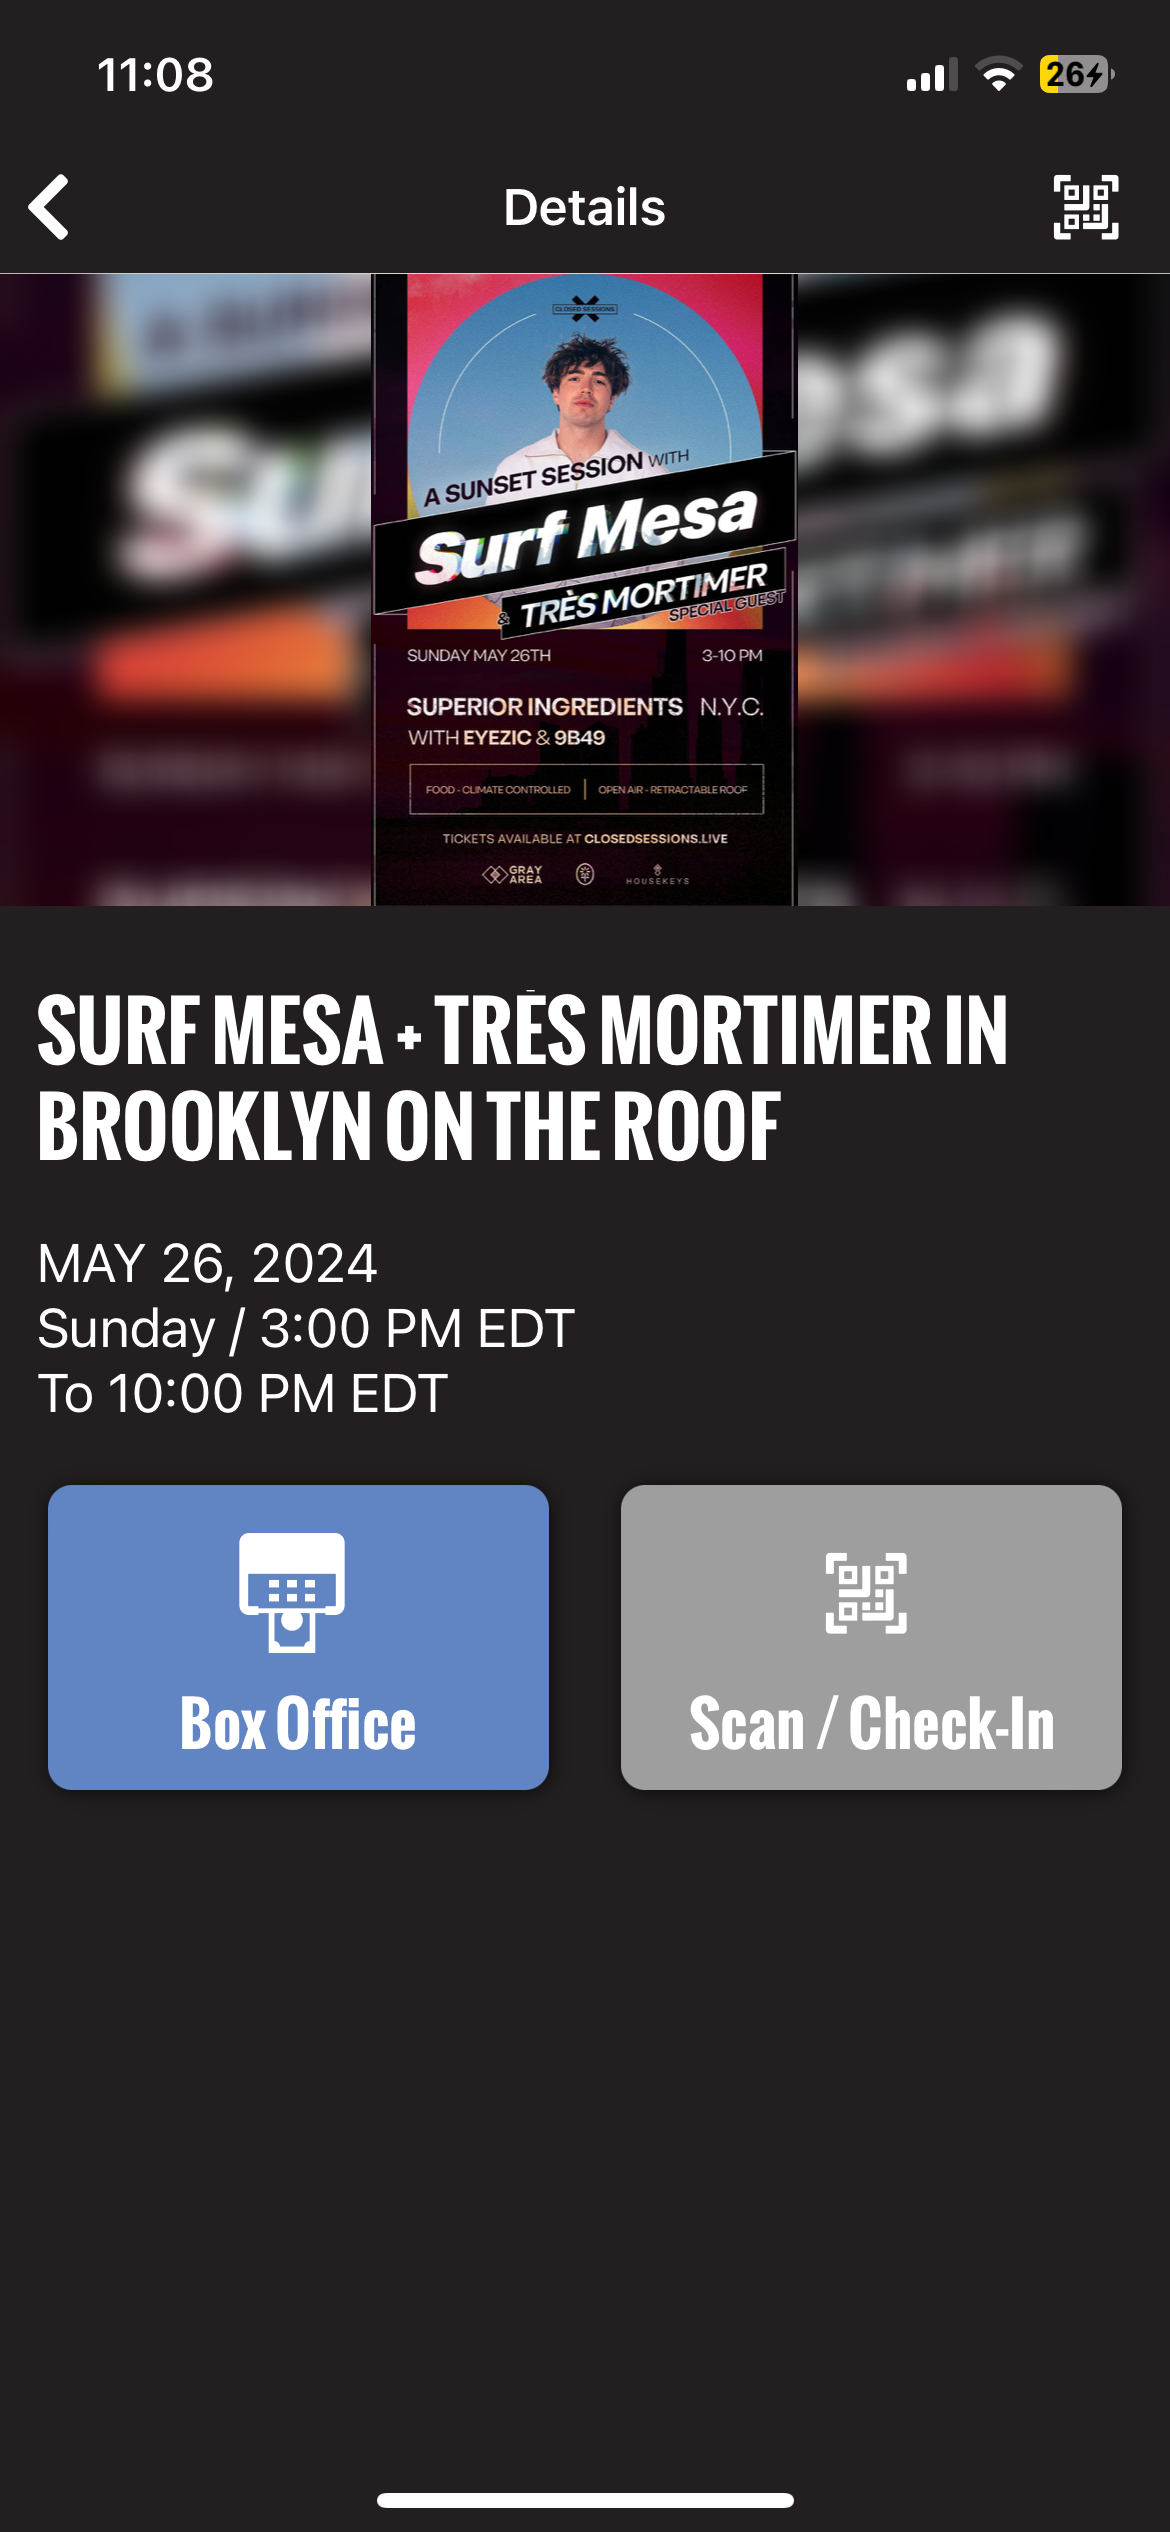
After tapping on Scan/Check-In button, tap the Manual Check In tab at the bottom of your screen to get started:

On the Manual Check In tab, you'll see a list of the orders sorted alphabetically by last name for your event (with the attendee name, email and order ID listed as well). Here you can check in your guests manually and search for them directly on the app by name, email or order ID!
Tap on any order to start the check-in process:
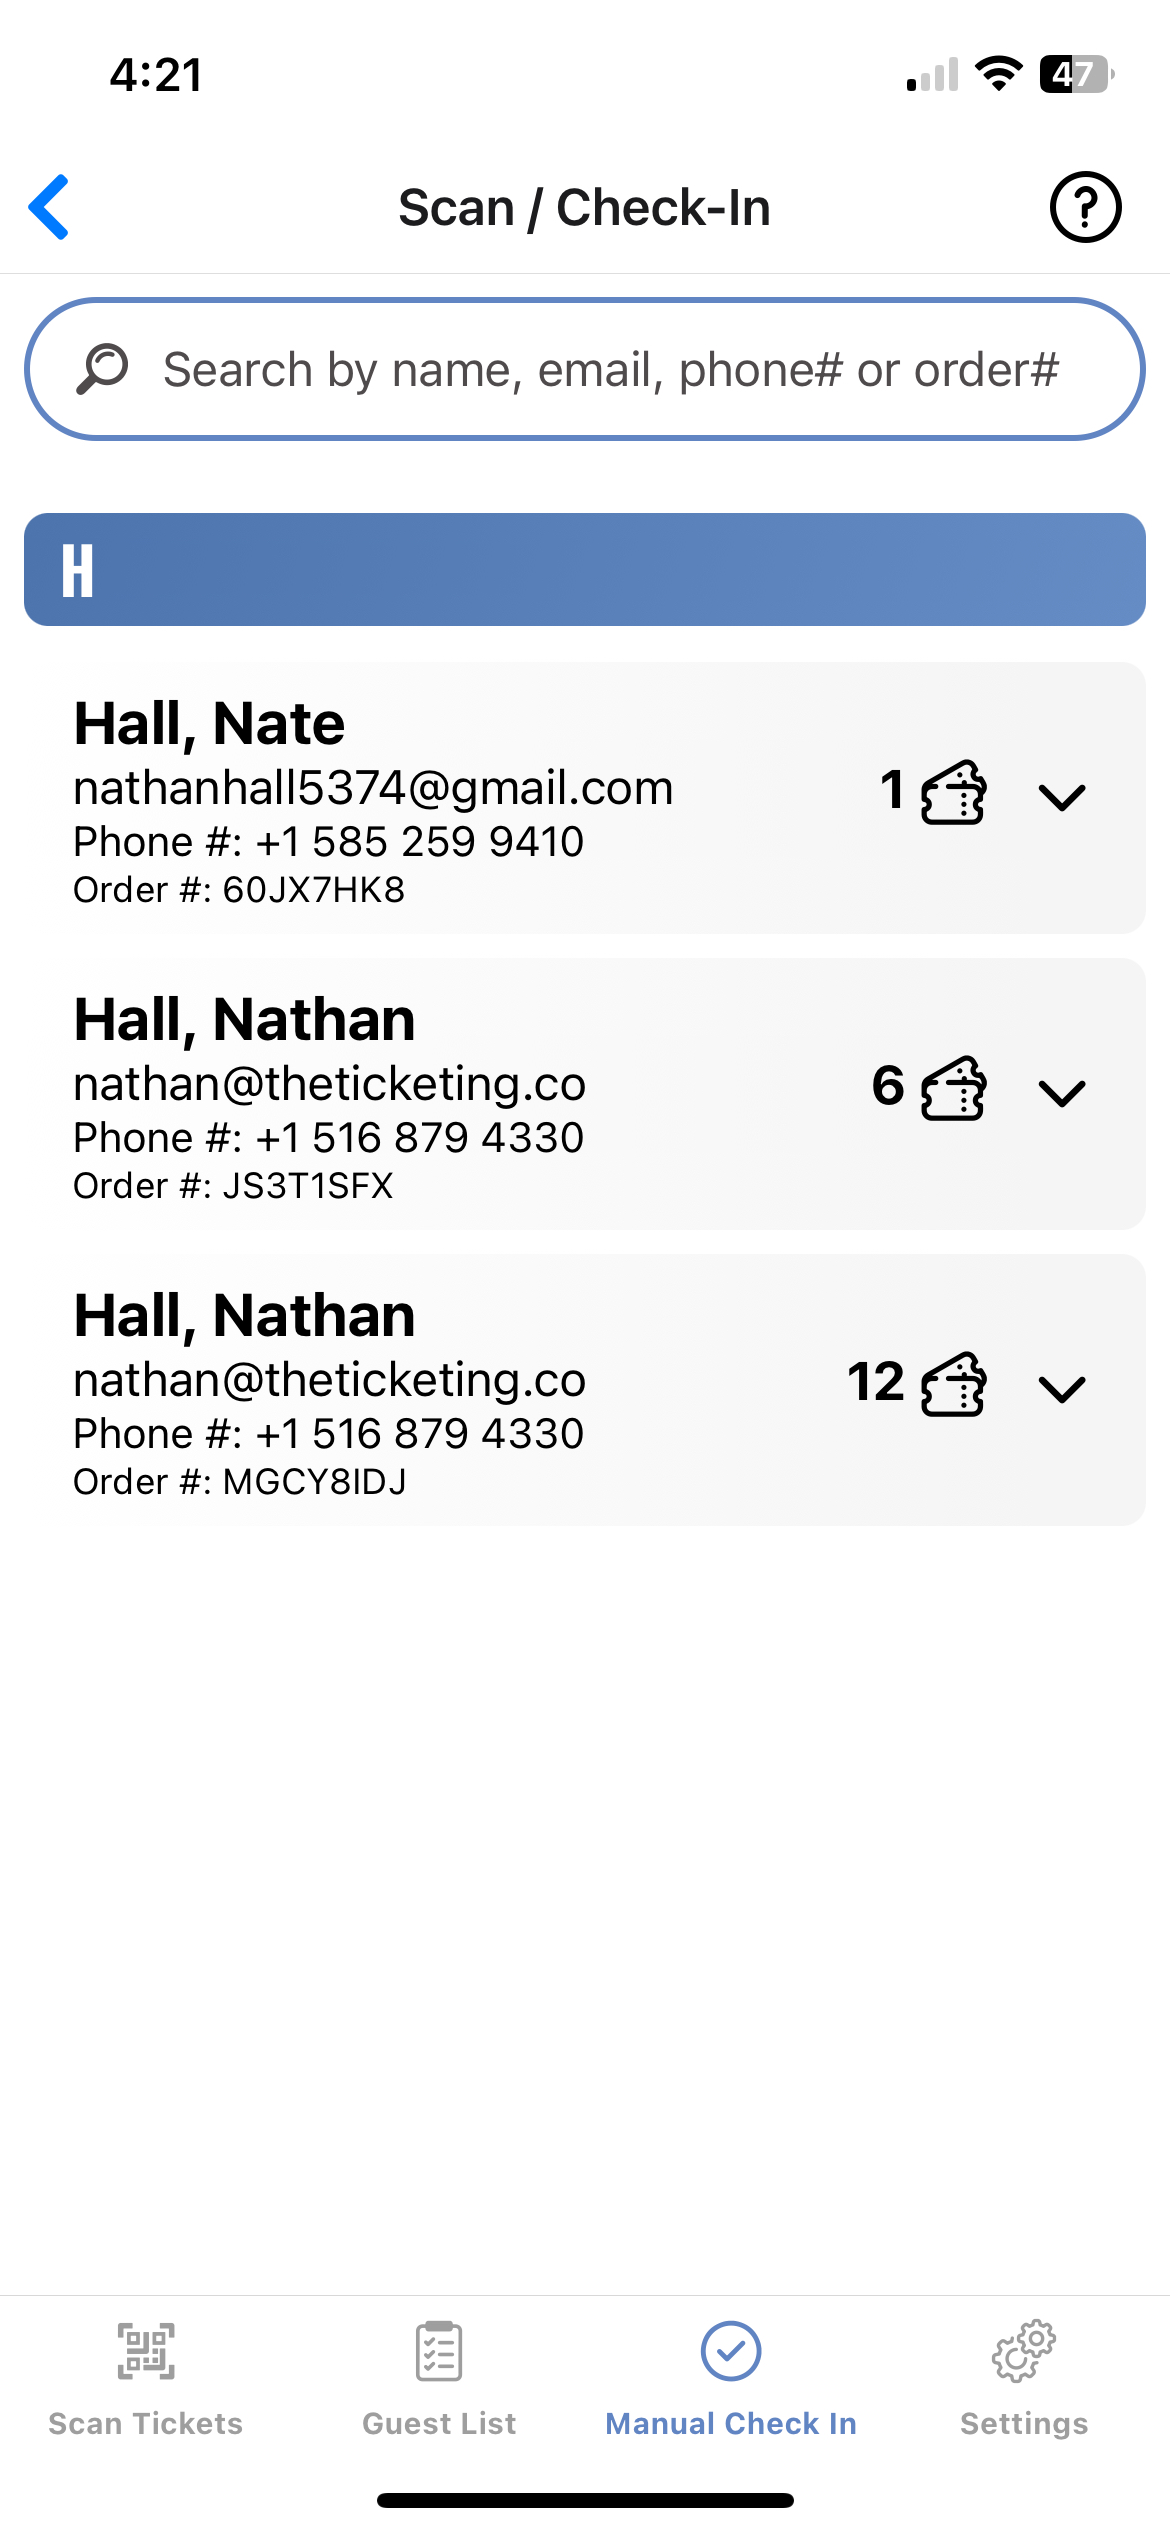
Tap the 🎟 icon to check-in the ticket(s) you are searching for

Then tap "Confirm" on the pop-up that appears to confirm your decision to check-in the ticket(s)
After confirming, the red "X" will turn into a green checkmark, indicating that the ticket has been checked-in and cannot be checked-in again (or scanned!).
*Please note: If a ticket is scanned in using the Scan Ticket feature, you will not be able to check it in using the Attendees feature and vice versa. Once a ticket is checked in either way, it cannot be used again!
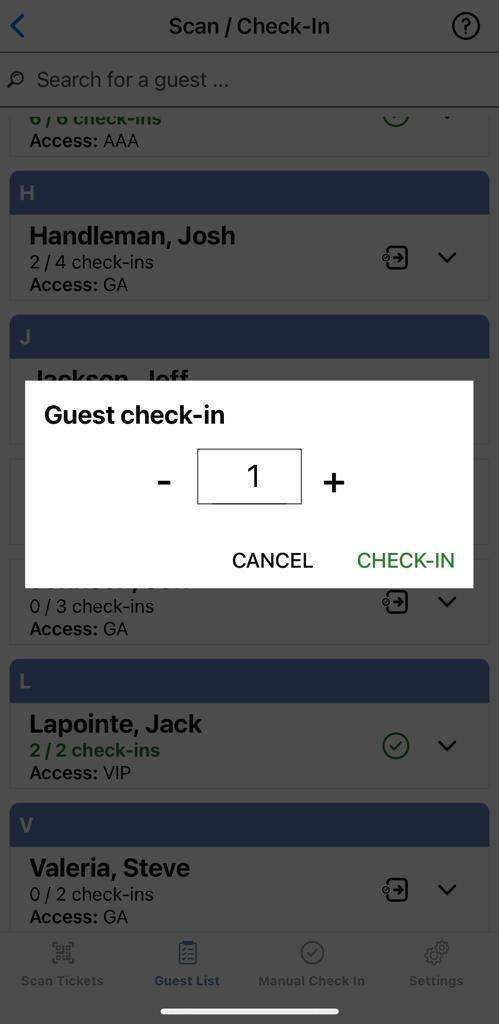
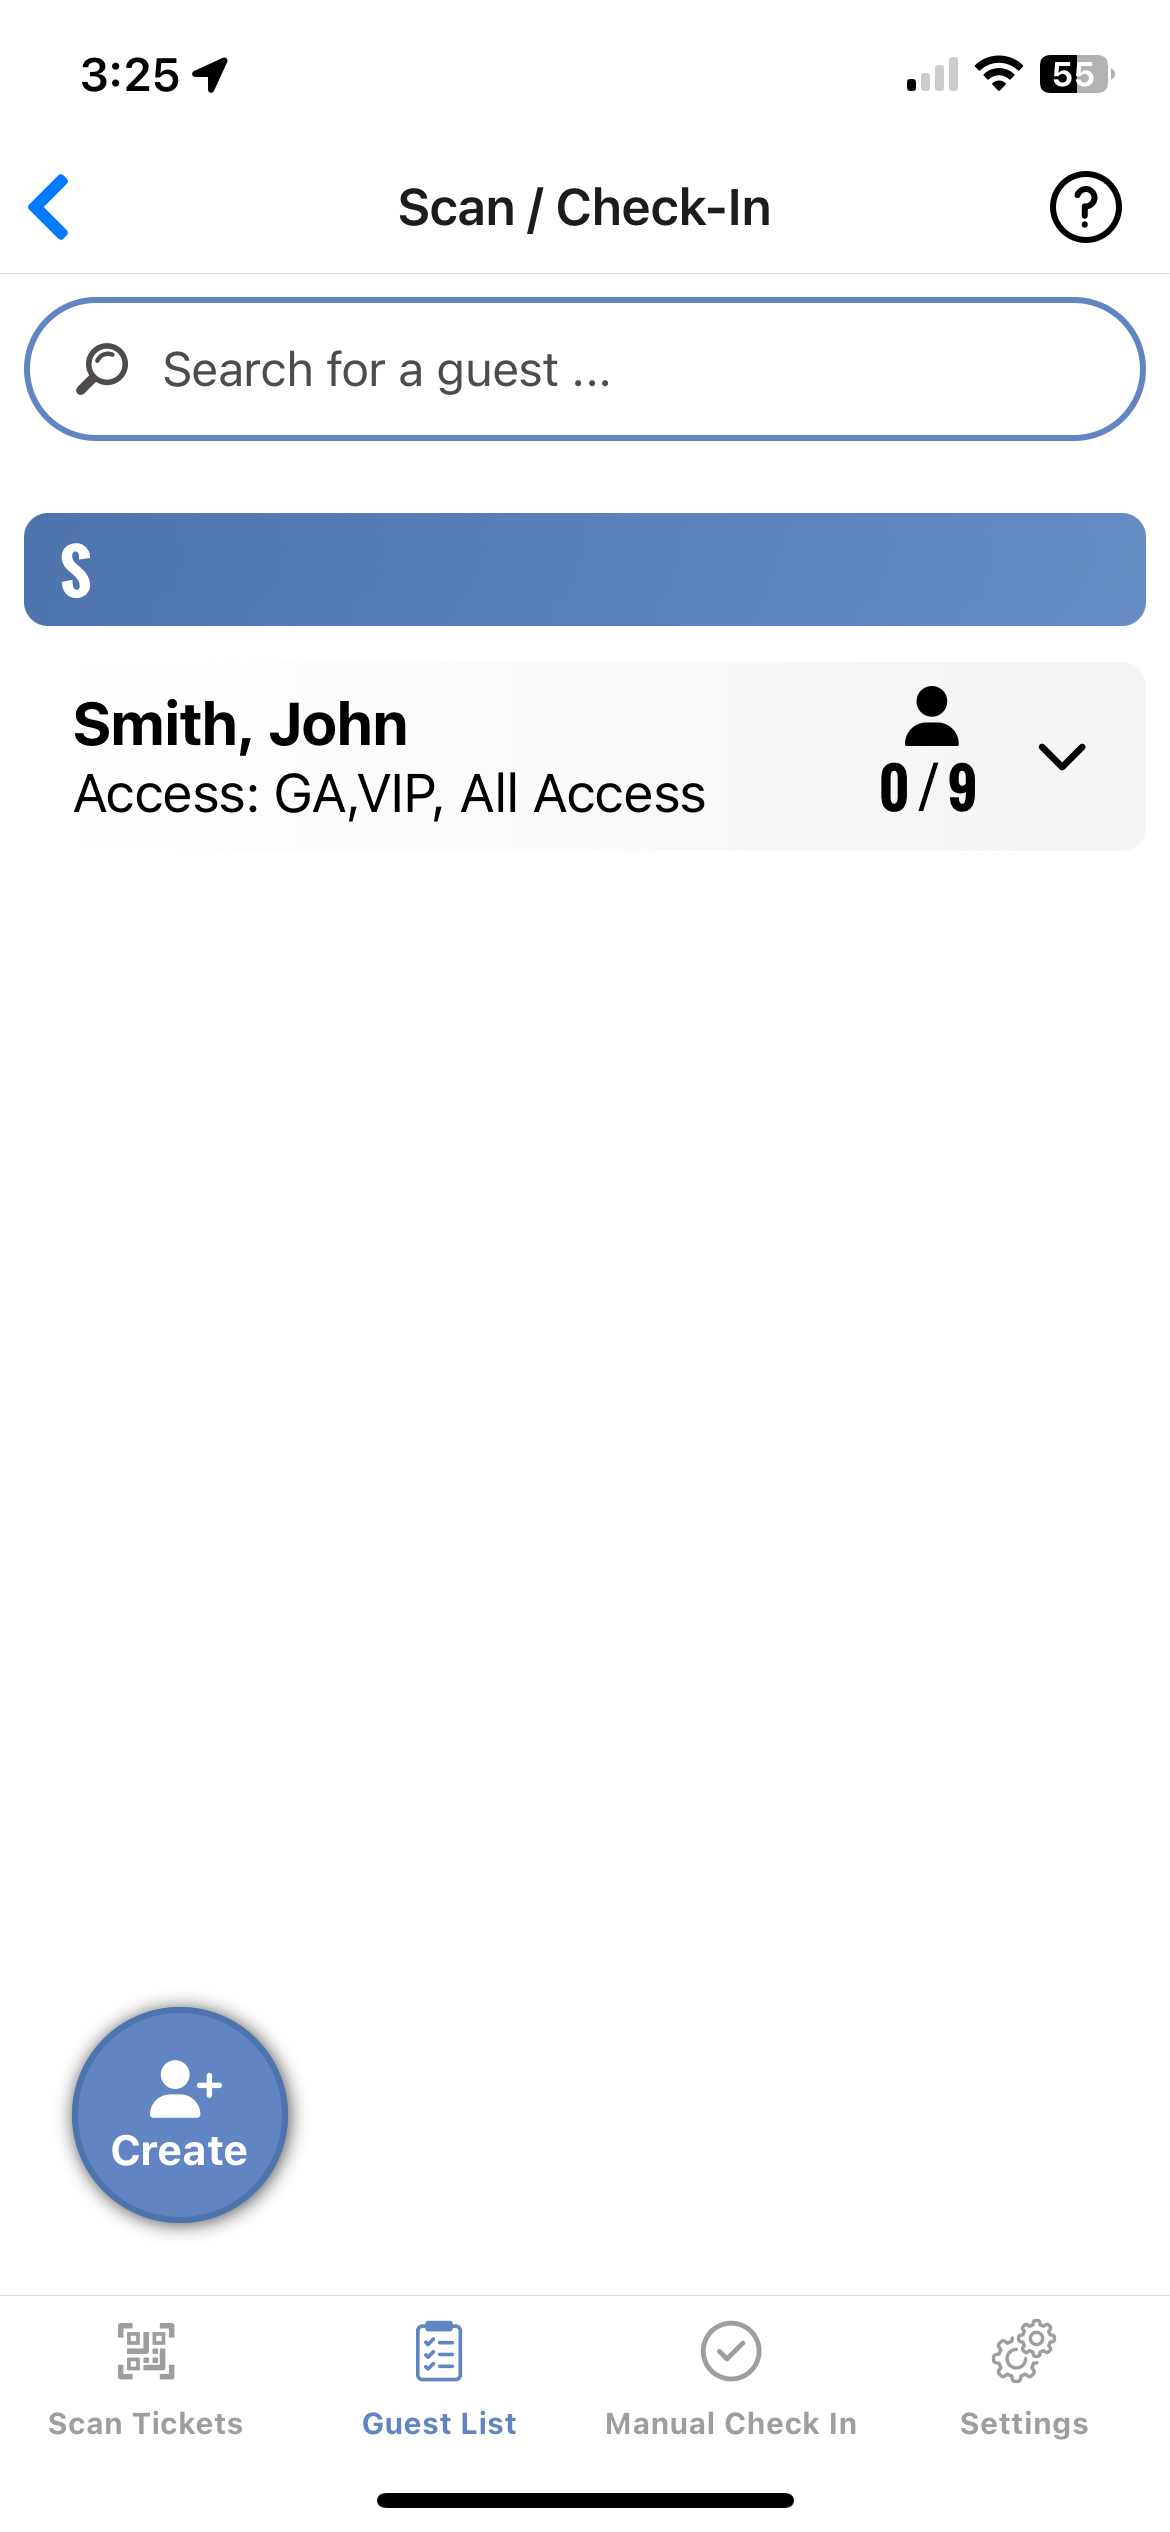
This process works the almost identically for your Guest List if you have decided to utilize the Guest List feature contained in your Event Overview. Simply tap on the Guest List tab at the bottom of your screen and will be able to check-in your guest list directly in the app!
Tap the Check-in icon and select the number of guests you'd like to confirm and tap the Check-In button